Homemade Lefse Recipe: Traditional Norwegian Flatbread
11th Jan 2025
Christmas has passed—the Christmas goodies have been devoured. Maybe this was the year you tried making new treats, or maybe this was your first year including lefse in your menus. Now that things have quieted down in the new year, you might be looking for a new challenge. How about making your own lefse? You can get a complete lefse making set at Norsland Lefse. (Or maybe you got a grill as a Christmas gift and now want to try it out!)
For me, lefse has always been part of family get-togethers at Thanksgiving, Christmas and in the winter. We had a large wood-burning cookstove when I was little. My mom and grandma would fire up the cookstove and bake our lefse right on top of the cast iron stove. Keeping the correct temperature was a trick—they needed to feed the fire throughout the baking. Once we got an electric lefse grill, it became much easier!
What is Lefse?
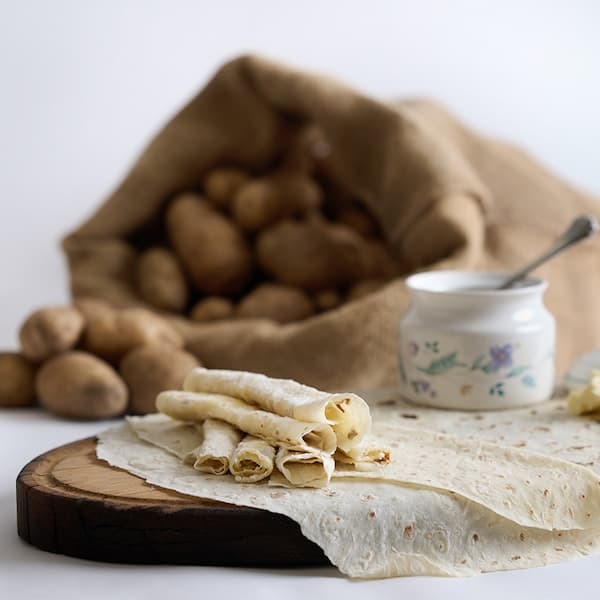
Lefse is a soft Norwegian potato flatbread—thin, tender, and traditionally cooked on a hot grill. It’s delicious warm with butter and sugar, or as a wrap with sweet or savory fillings.
Winter is the best time to make lefse. Low humidity is helpful for a good lefse. Lefse is baked on a 500°F grill after rolling it out by hand—both details help warm up both the participant and the kitchen! The best potatoes are Russets, a dry, mealy potato often used for baking and French fries.
Making lefse is a two-day process. The first day, you’ll need to peel your potatoes and boil them. Once they are boiled, drain the water completely and rice the potatoes immediately. Potato ricers aren’t in every kitchen, but they ensure no lumps; doing it while the potatoes are warm is easier than letting them cool.
Once the potatoes are riced, let them cool and then refrigerate covered overnight. The next day, flour, shortening and salt are worked into the dough with your hands to create the lefse dough. While you make the dough, heat your grill to 500°F.
Once the dough is ready, take a handful about the size of an orange, flatten it and roll on a flour-covered surface using a lefse rolling pin. (Consider a rolling pin cover to prevent sticking.) Rolling lefse is a learned skill—use steady, lightening pressure toward the edge and rotate to keep it round.
Once rolled, use a lefse stick to transfer to the grill. Lefse gets traditional brown freckles as it bakes. Flip after about a minute, dust with a dry cloth to remove excess flour, and bake the second side. I fold my lefse in quarters to cool, then refrigerate or freeze.
Ingredients for Homemade Lefse
- 10 pounds Russet potatoes
- 10 teaspoons salt
- 5 ⅓ cups flour
- 15 ⅓ tablespoons shortening
Step-by-Step Lefse Recipe
- Prepare and rice potatoes: Peel and boil potatoes until soft. Drain and rice immediately into a large bowl. Cool at room temperature; cover and refrigerate overnight.
- Heat the lefse grill: Next day, heat the lefse grill to 500°F (260°C).
- Mix dough ingredients: Mix about 16 cups of riced potatoes with salt, flour, and shortening (nearly 1 cup; butter-flavored shortening works well).
- Roll out the dough: Take an orange-sized piece, form a ball, flatten, and roll on a floured surface with a grooved lefse rolling pin.
- Flip and flour: After a few rolls, flip the dough. Lightly flour the surface and rolling pin to prevent sticking.
- Roll into large circles: Roll to a 16–18 inch round, starting in the center and easing pressure at the edges. Rotate to keep it circular.
- Transfer with a lefse stick: Loosely roll the sheet onto the stick and transfer to the hot grill.
- Bake the first side: Bake about 1 minute until brown freckles appear; it may bubble.
- Flip and bake the second side: Flip using the stick, dust off excess flour with a dry cloth, and bake the second side.
- Fold with the stick: Slide the stick under the center to fold, then again to fold into quarters.
- Stack on a towel: Stack baked lefse on a kitchen towel and cover.
- Cool completely before storing: Cool fully before bagging and refrigerating or freezing.
- Freeze and thaw properly: Wrap the frozen stack in a towel or paper towels to reduce moisture while thawing; return to a zipper bag to finish thawing.
Tips for Perfect Lefse (Rolling, Baking & Freezing)
- Use Russet potatoes for a dry, mealy texture.
- Rice while warm to avoid lumps; chill overnight.
- Light pressure and frequent rotation keep rounds thin and even.
- Dust excess flour off on the grill for better browning.
- Cool fully before bagging; thaw with a towel to avoid condensation.
Serving Ideas and Norwegian Traditions
Enjoy lefse warm with butter and sugar, cinnamon sugar, or as a wrap with eggs, cheese, ham, or smoked salmon. It’s a favorite for holidays—and just as tasty any time of year.
Whether you decide to make your own lefse or purchase your lefse from Norsland Lefse, it will have that fresh, homemade taste that is yummy all year long. Lefse makes a great breakfast or lunch wrap any time of the year!
Step-by-Step Photos
1. The flattened lefse dough is ready to roll.
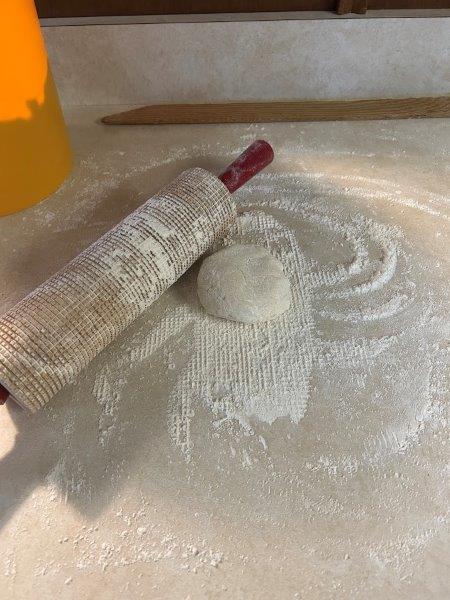
2. After rolling it a few times, flip it over, add a bit of flour under the lefse and to your rolling pin and finish rolling.
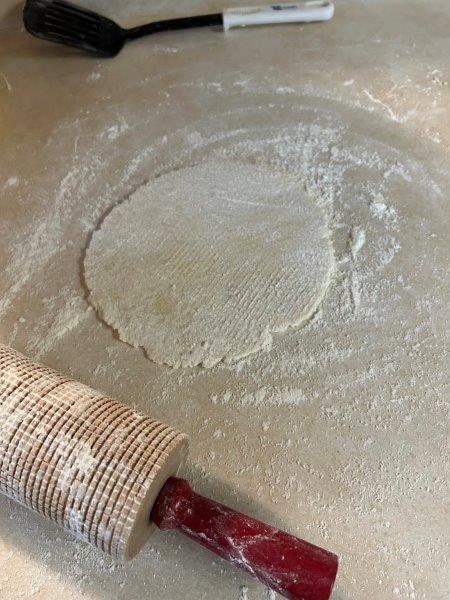
3. A rolled lefse ready to transfer to the grill.
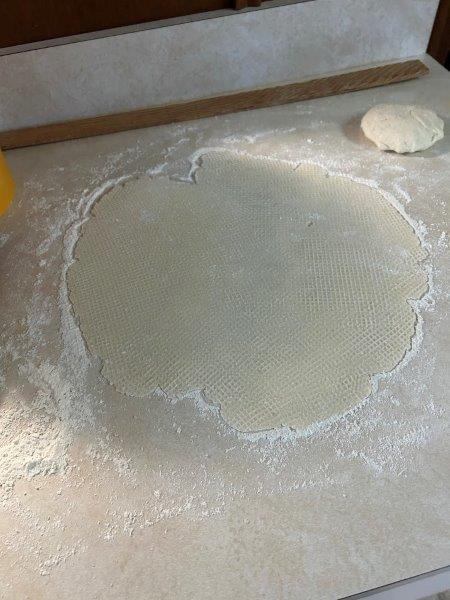
4. Roll the lefse on a lefse stick to transfer it to the grill.
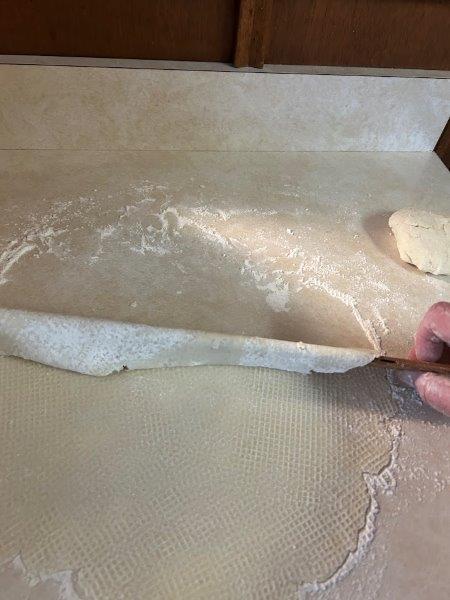
5. Lefse on the lefse stick ready to move to the grill.
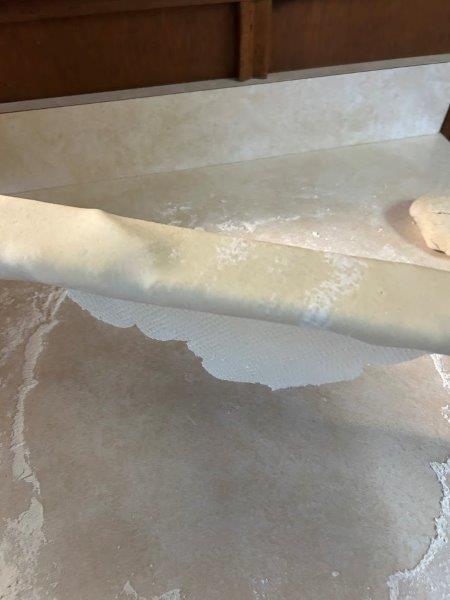
6. Unroll the lefse from the stick onto the grill.
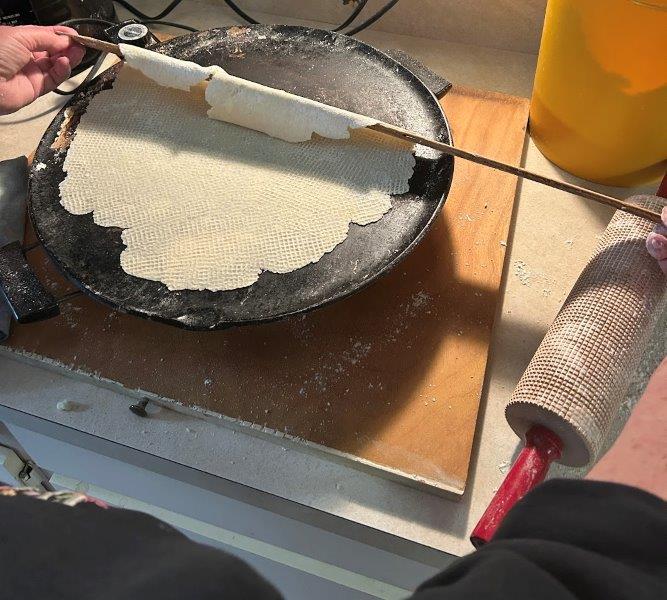
7. Baking the first side of the lefse.
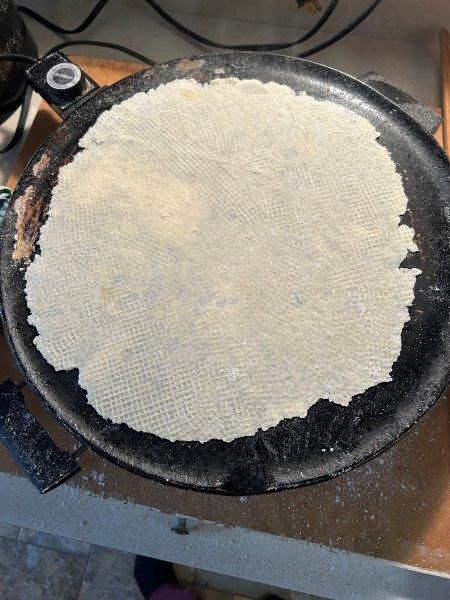
8. Use the lefse stick to flip to bake the second side.
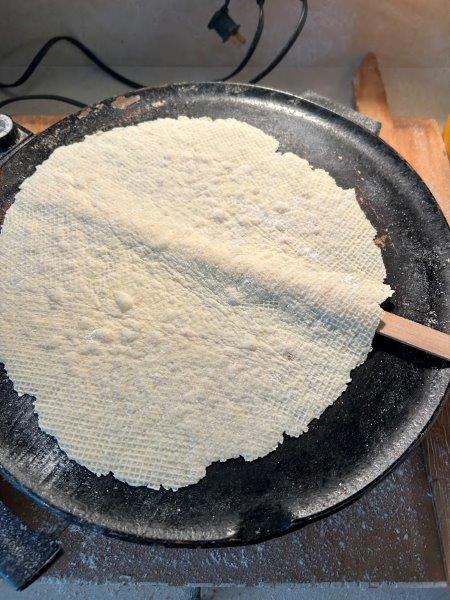
9. Dust the first side with a cloth to remove excess flour.
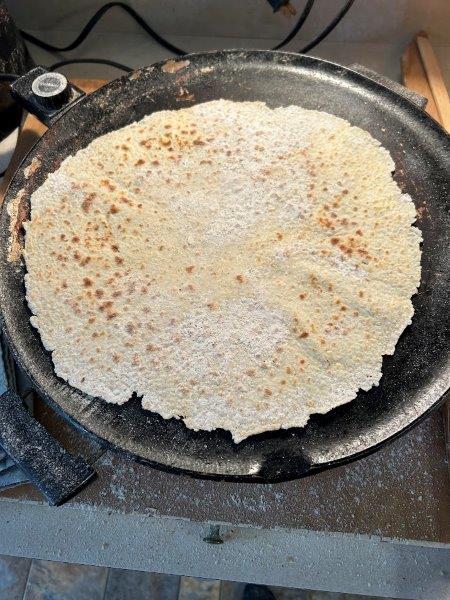
10. Remove the finished lefse with a lefse stick under the middle of the lefse.
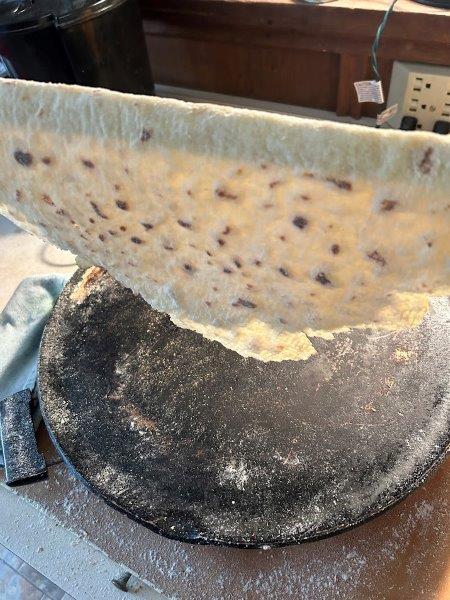
11. Lay the folded lefse on the grill and pick it up again in the middle with the lefse stick to fold the finished lefse in quarters.

12. Stack the lefse on a kitchen towel and cover the stack completely with the towel to cool.
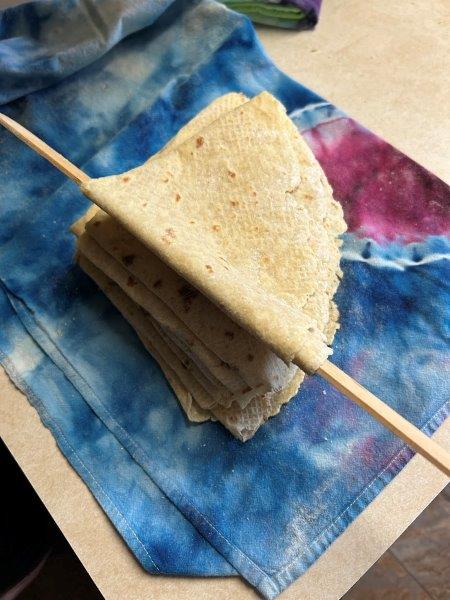
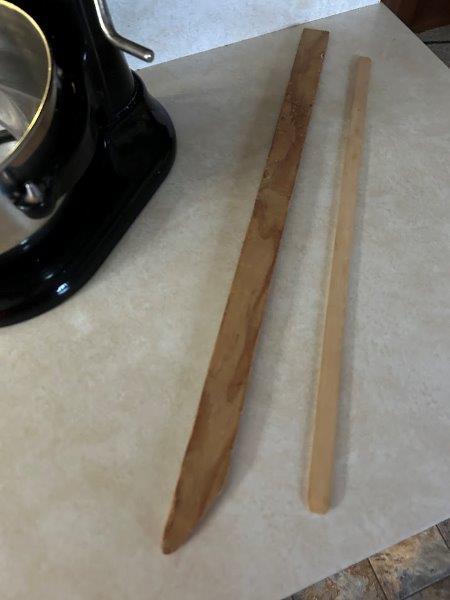
13. A closeup of the lefse sticks for comparison.
Frequently Asked Questions about Lefse
Can you freeze lefse?
Yes. Cool completely, then bag and freeze. For thawing, wrap the frozen stack in a towel or paper towels to reduce moisture, then return to a zipper bag to finish thawing.
What potatoes are best?
Russets—dry and mealy—help produce thin, delicate lefse.
How do you reheat lefse?
Microwave for a few seconds, or briefly warm on a dry skillet or grill—just enough to soften.
Is lefse like a tortilla?
They’re both flatbreads, but lefse is potato-based and softer, with a unique tender texture and flavor.
Want the taste of lefse without all the rolling and baking? Order authentic lefse online from Norsland Lefse — shipped fresh from Rushford, MN.

