
Handmade Norwegian Christmas Decorations & Traditions
2nd Dec 2025
Every culture has its own traditions at Christmastime. Anticipating the coming of Christmas played a big role in the traditions of Christmas in our German/Norwegian farming community. One of the first signs of the approaching holiday was the addition of the advent wreath in front of our church. The wreath always held four taper candles and a larger Christmas candle. In the four weeks leading up to Christmas, the taper candles were lit with another one added each week until the large candle was lit on Christmas Eve.
During that time period, everyone was busy preparing for Christmas. Recitation pieces and songs for the Christmas Eve services were memorized by the kids while the adults worked to make gifts, bake cookies and decorate the house. Last year we shared on the blog a multitude of recipes during November and December for the cookies, lefse and flatbread that came from the kitchen ovens daily during that time.
In this week’s blog we’ll be featuring examples of decorations to give your Christmas tree and home a Norwegian flair. Almost all our decorations were handmade; after Christmas, they'd be carefully stored away until the next year.
I still have an angel my husband made almost seventy years ago as a first grader; the somewhat disheveled ornament has a place of honor on our tree along with a meticulously stitched Hardanger ornament a student’s mother gave me many years ago. Over the years, Norwegian ornaments made of woven wheat straw, wood curls, pinecones and bits of fabric and yarn have decorated our tree. Most of the ornaments were made from found, natural and recycled items along with inexpensive paper; the true value of the ornaments was the love that went into them.
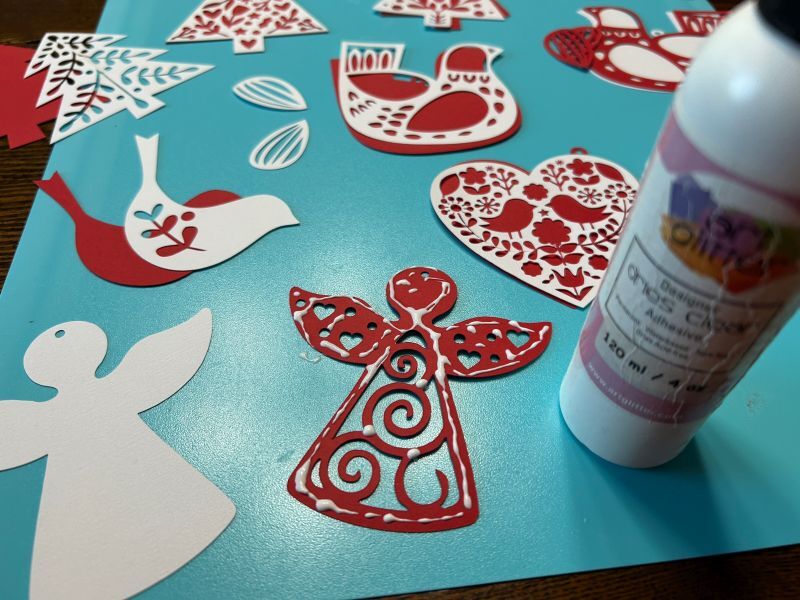
While papercutting was done with small scissors when I was young, technology today makes it possible to do intricate cuts to create beautiful ornaments with a Norwegian flair. Papercutting has always been a favorite of our family from simple snowflakes to time consuming Scherenschnitte learned from a German neighbor to the use of a Cricut for precise cuts. No matter how the paper is cut, the results can be a gorgeous addition to a tree.
Following you will find several ideas for making your own decorations with your family.
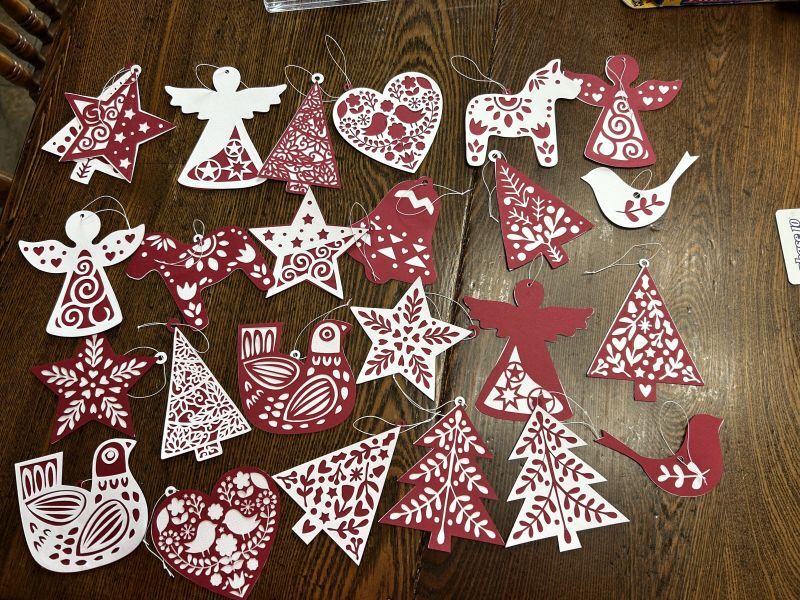
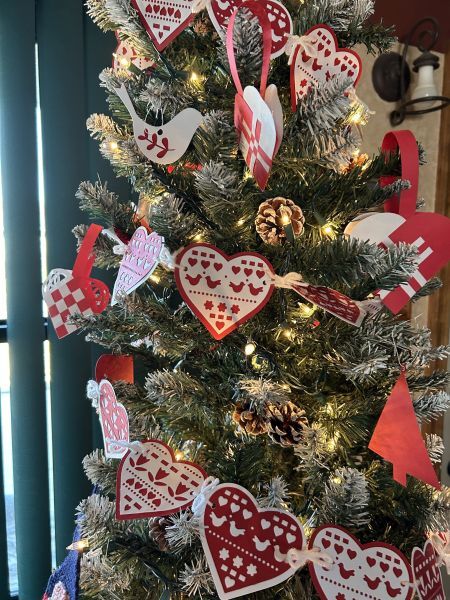
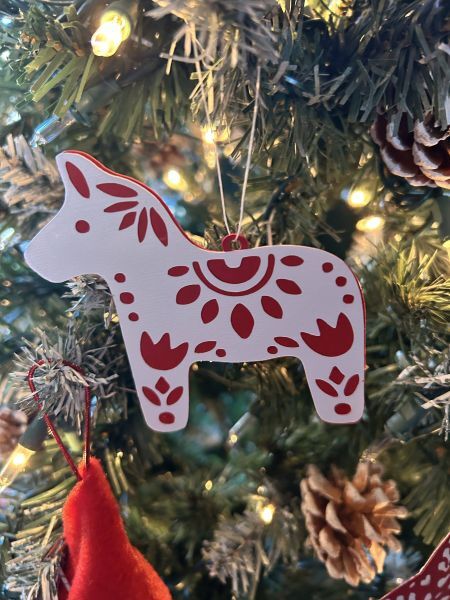
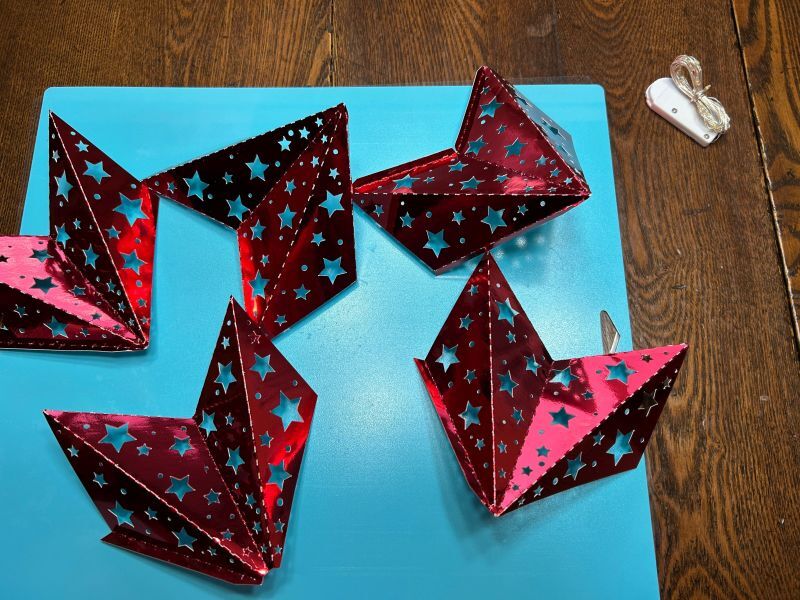
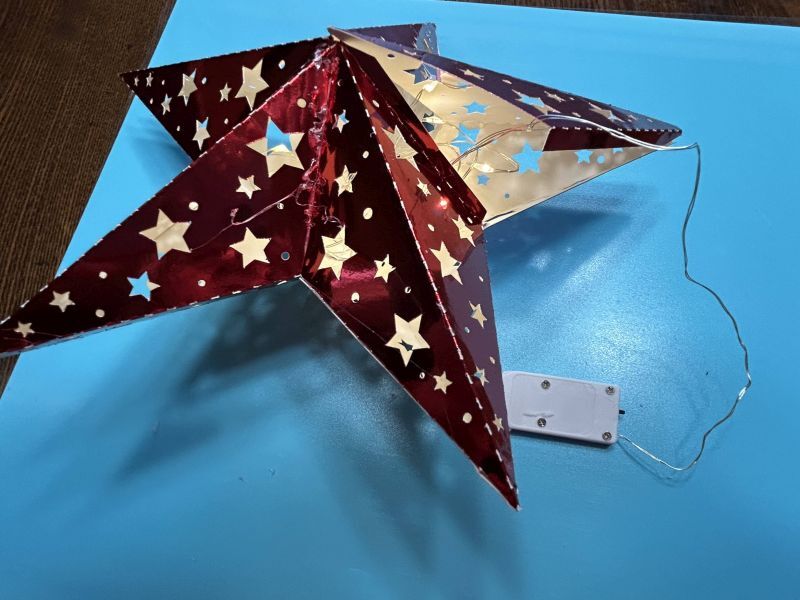
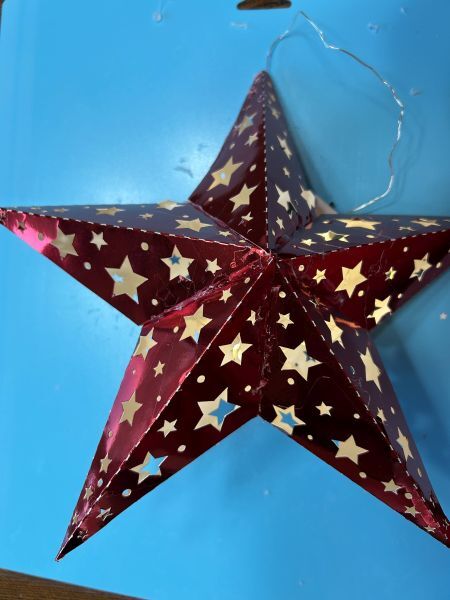
The layered ornaments and garland of red and white cardstock were done with many Norwegian shapes including hearts, birds, stars, angels and Dala horses. Small dots of white glue were added to the layers to create lacy looking ornaments. The tree topper was made in a similar manner but was glued with hot glue to make it sturdy. The inexpensive battery-operated fairy lights are readily available at most craft stores and add a special final touch to the tree. SVGs and patterns can be found easily on Etsy (Scandinavian ornaments SVG and Nordic ornaments SVG) and in Jennifer Makers’s craft library online (Star Paper Lantern pattern here).

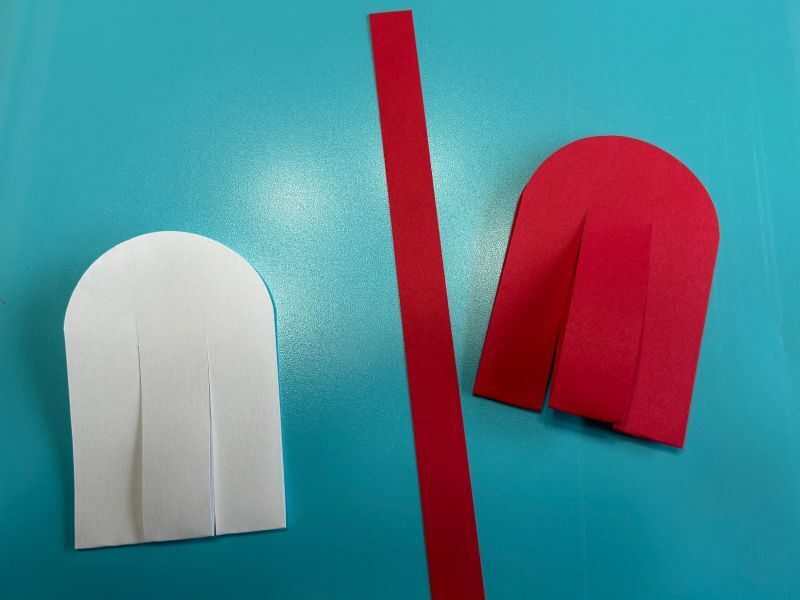
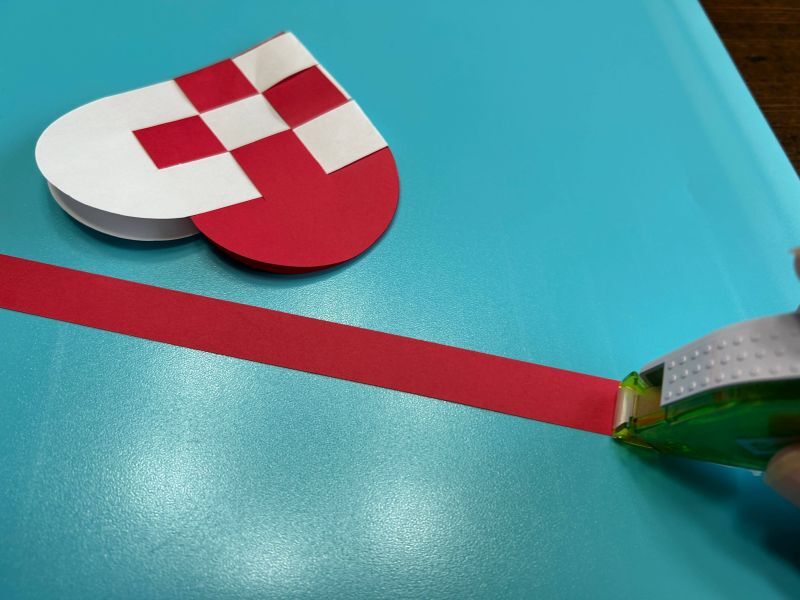
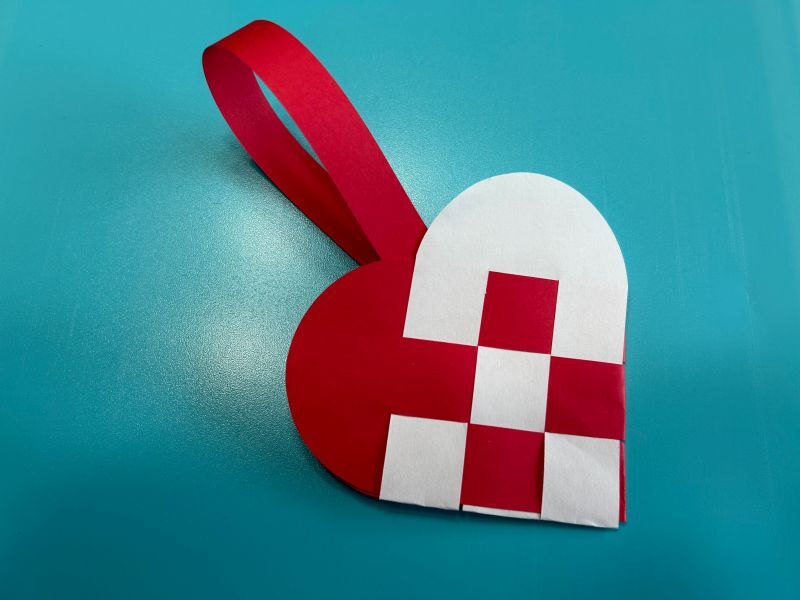
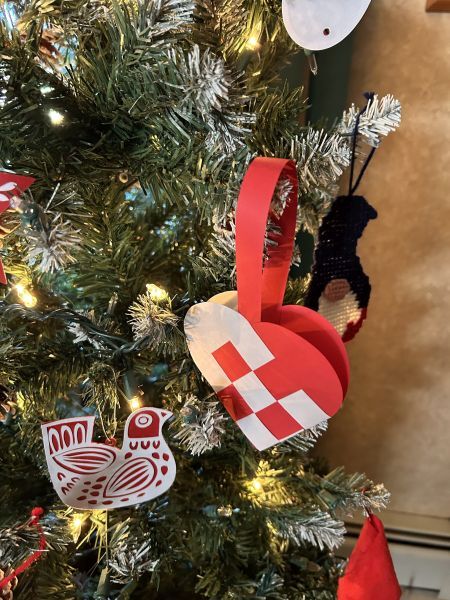
Scandinavian woven heart baskets have been favorites of mine since I was little. The heart baskets were great Christmas ornaments, but they also worked well to decorate on Valentine’s Day and made great May Day baskets to tuck wild flowers in May!
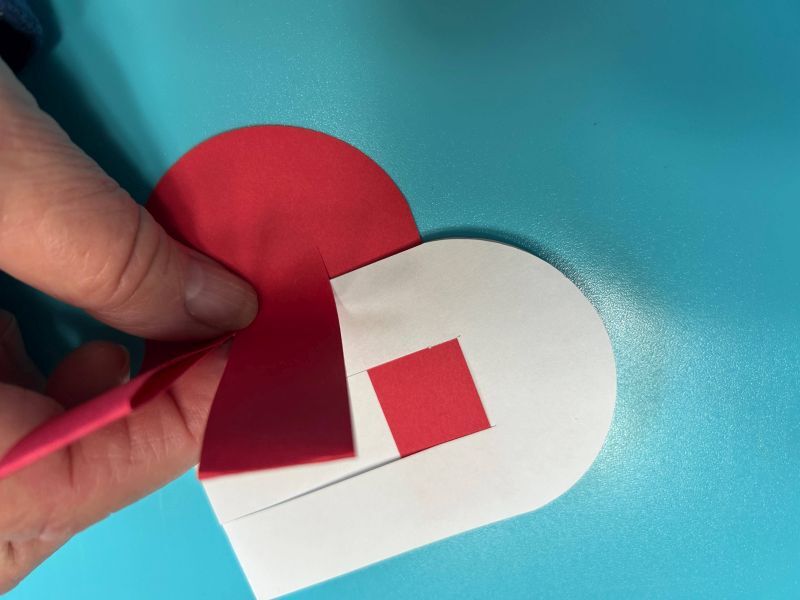
While the basic three strip baskets are fun, it’s fun to cut different width strips on the folded copy paper to vary the results. Always cut the white and colored paper the same before trying to weave them. The cuts are made on folded paper. To begin weaving, I place the papers at an angle and weave the closest red strip first. The strips need to either be totally around the outside of the other color or totally inside. The weaving will look the same on the front as the back. The narrower the strips, the more difficult the basket is to weave.

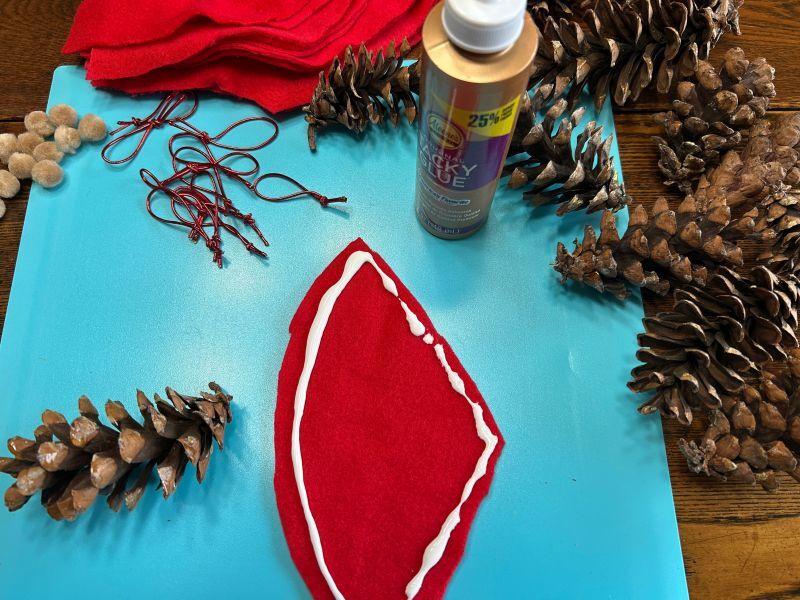
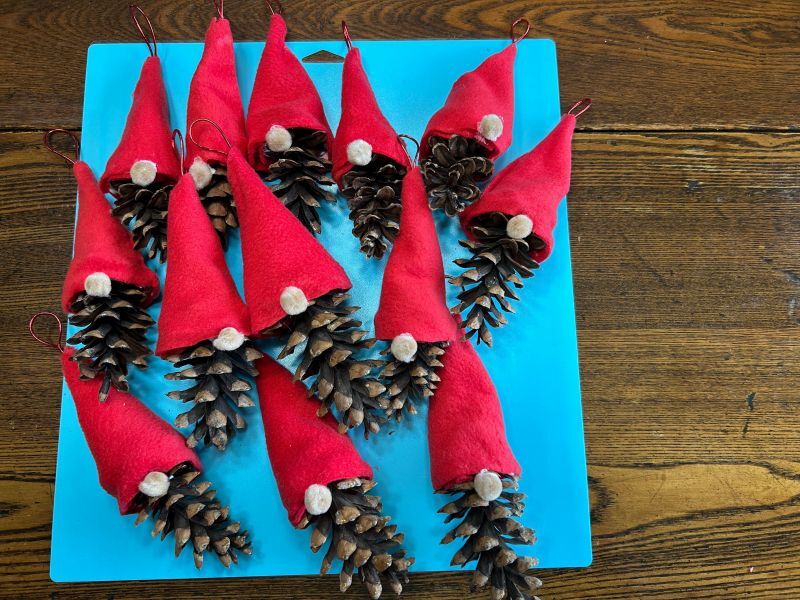
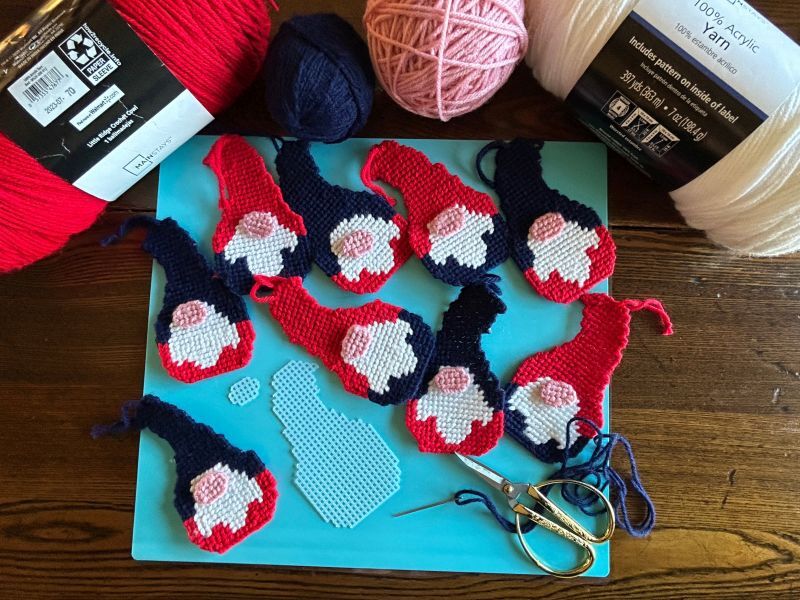
Two varieties of gnomes are included; one made of felt, pinecones and pompoms and one made with plastic canvas and yarn. Scandinavian woven heart baskets were made with copy paper.
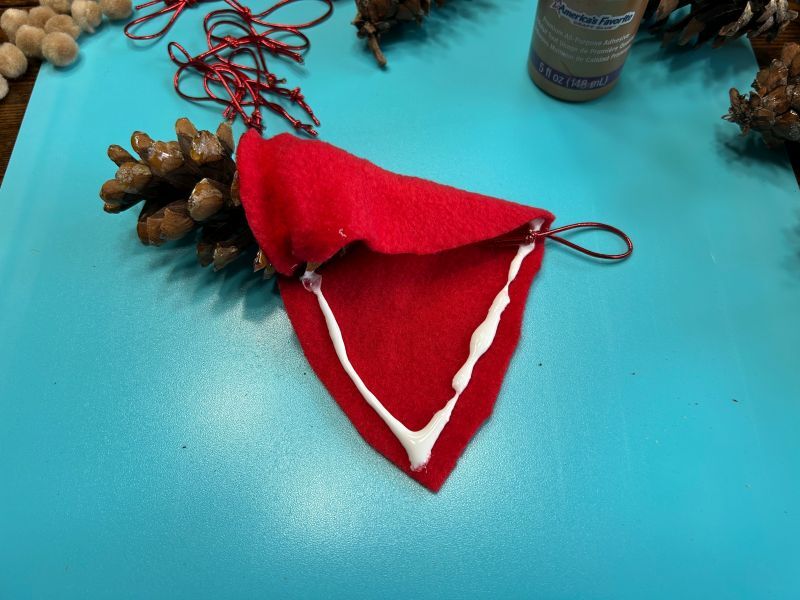
Most of these can be created by elementary aged kids with a little adult help with simple inexpensive materials. Pinecones were gathered from nearby trees earlier in the year. Baking in a low oven will get rid of unwanted critters. A simple cone-shaped piece of red felt was cut to glue on the top of the pinecone with a hanging cord glued inside. A small flesh-colored pompon glued on for a nose finished the ornament. I used tacky glue to assemble them.

The plastic canvas gnome is a good way for kids to practice stitching skills. I cut the gnome shape and the nose shape from plastic canvas myself. (Yes, the same plastic canvas that was popular back in the 1970s!) You can see the shape in the pics that are included. The nose was hot glued to the gnome after stitching both pieces.


The star tree topper’s fragile stars were also cut using a Cricut, glued together with hot glue and lighted with battery powered fairy lights.

The time spent making your own decorations with your family is very rewarding. Crank on some Christmas music, light some candles and make some memories with your family while you wait for Christmas with anticipation! If you have a chance stop in at Norsland Lefse in Rushford to see the tree all decked out with these ornaments!